1994-1998 Ford Mustang Side Scoop Removal
November 11, 2017 | Posted in Helpful Tips, Mustangs | By fastwrecks
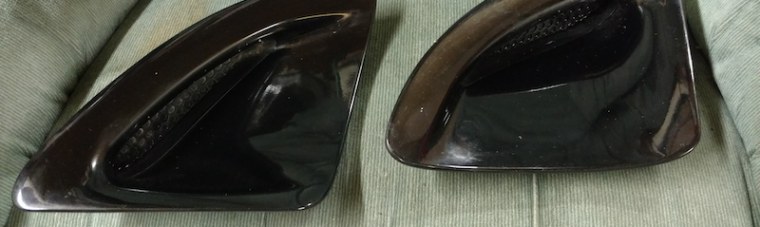
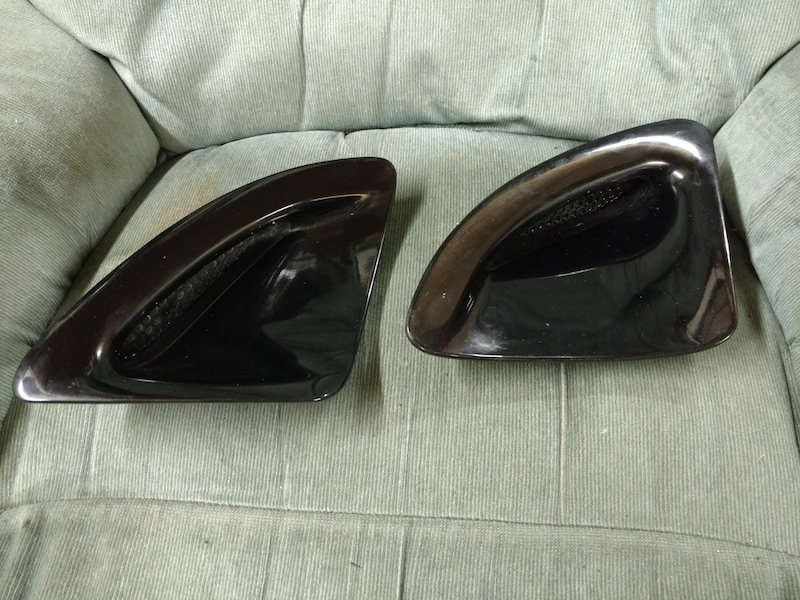
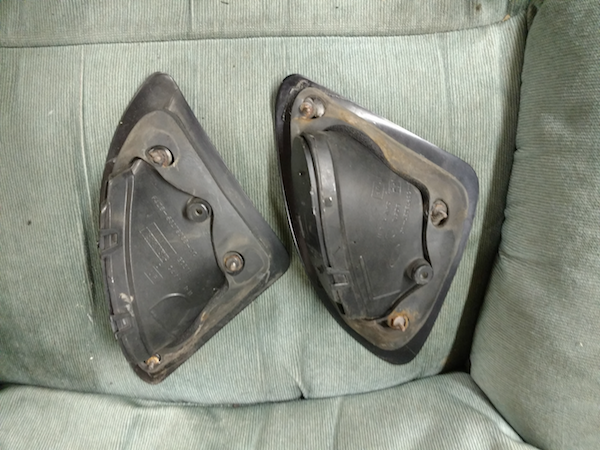
I was just asked how you correctly remove the external rear side vent scoops on a 1994-1998 Ford Mustang. They have threaded studs with nuts that must be removed from the INSIDE. Some models have a plastic clip. You need to access these clips or bolts from inside the rear quarter panel. Either behind the interior trim on a coupe or behind the rear vent windows on the convertible. DO NOT JUST TRY TO PULL THEM OFF! They will BREAK! The 1999-2004 use a plastic clip, but it should still be removed from the inside.
How to remove paint from auto glass – 3rd Gen Firebird T-Top
January 4, 2016 | Posted in Pontiac, Shop Time | By fastwrecks
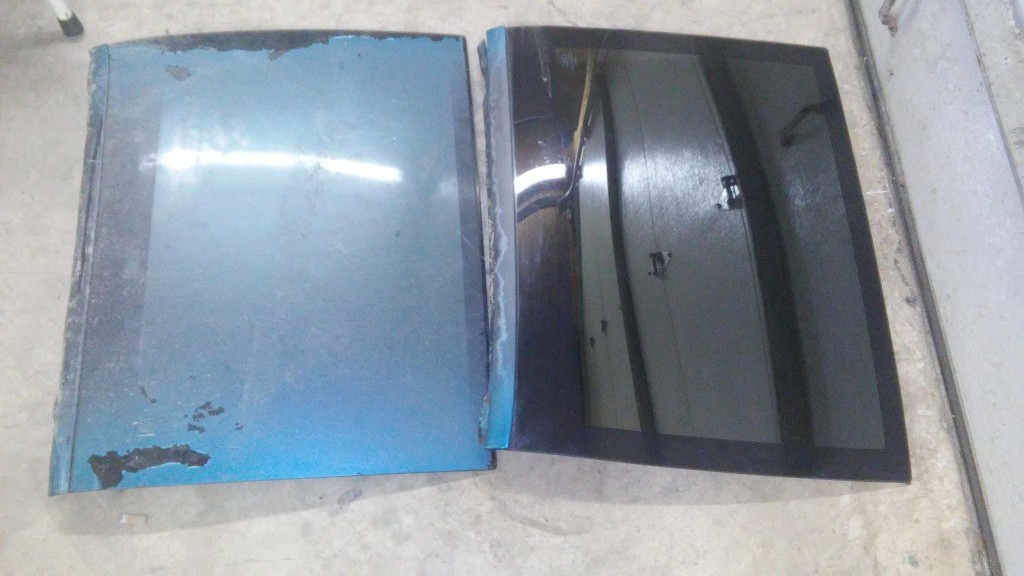
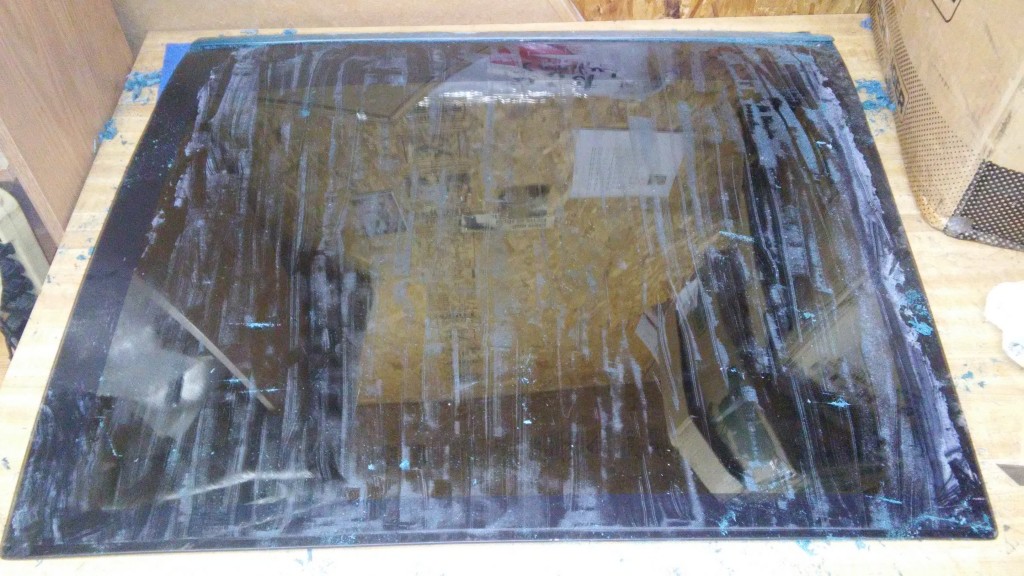
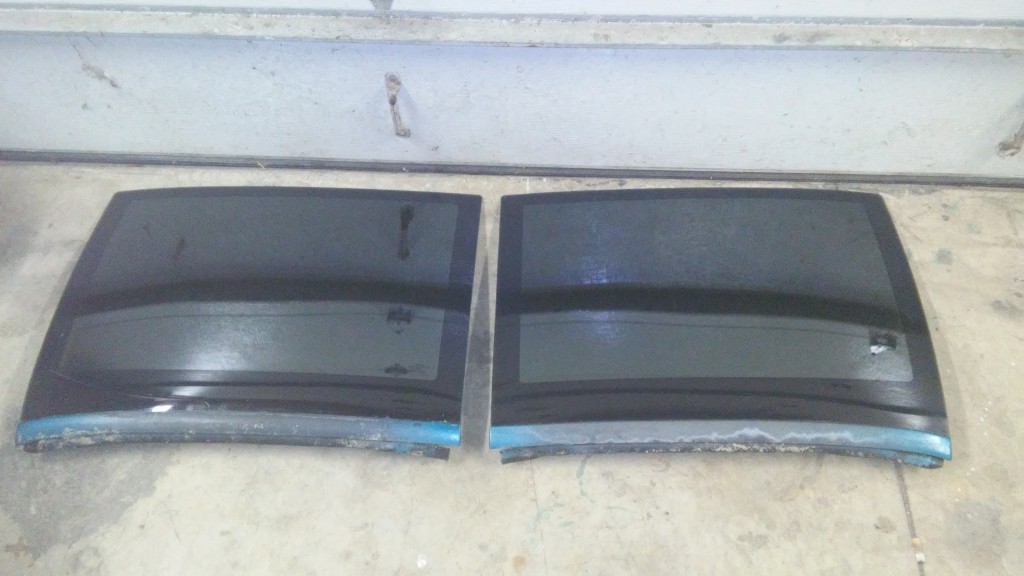
We came across these T-tops from a third generation (1982-1992) Pontiac Firebird. They had been painted over once upon a time, and had been left in a garage for quite a while. The latch mechanism needed some WD-40, but this paint just….needed to go. It was extremely faded and worn out, especially around the edges.
I watched some Youtube videos on how to remove paint from glass. I decided I’d try the razor blade method because I have plenty of those on hand. You won’t scratch up the glass doing this! The razor functions similar to an ice scraper. After verifying that the T-tops are actually glass, not acrylic plastic, I sprayed some Goof Off spray on the paint and let it soak in for a few minutes before starting anything. (Side note: some removable tops are made of acrylic. Goof Off specifically says in its instructions not to use it on that kind of material.)
This is after getting the majority of the paint off. At this point, I sprayed some more Goof Off to soak into the white residue. I then took the razor blade and scraped in the opposite direction as I did on the first pass.
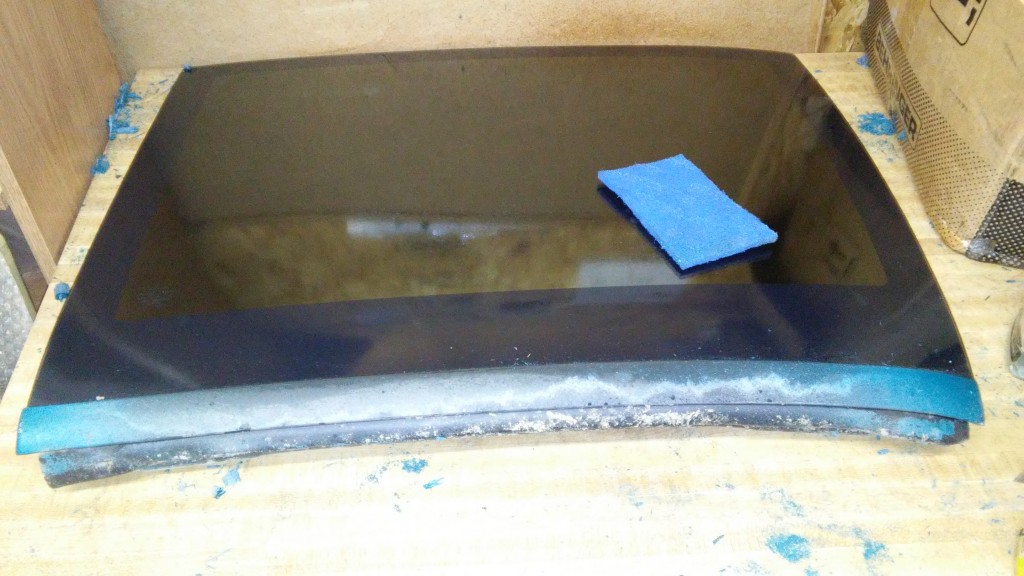
After the second go-round, I cleaned off the glass with glass cleaner to see what was left. At this point, a little Goof Off and blue Scotch Brite removed the little bit that was left. The photo is not blurry – Goof Off is working its magic.
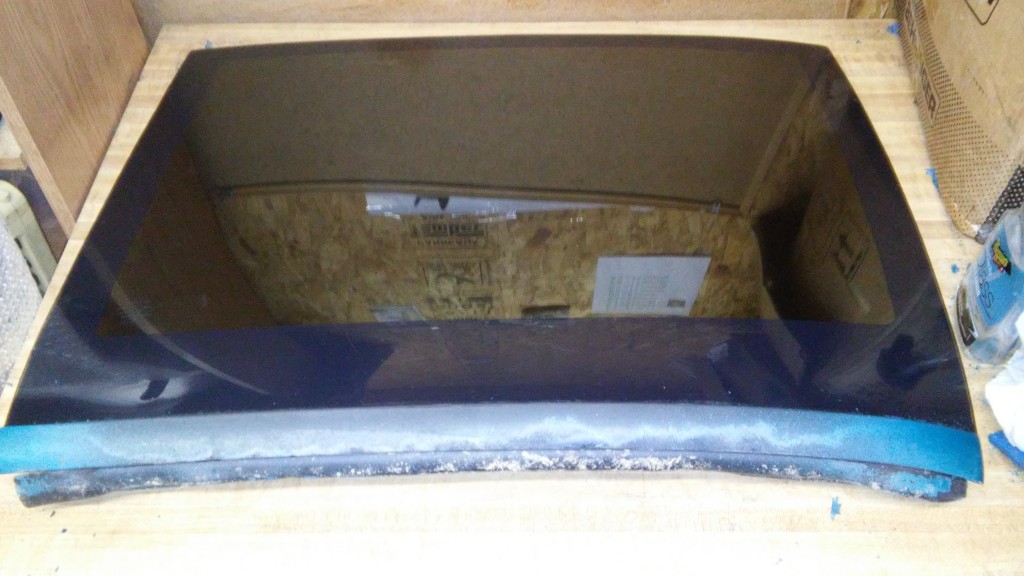
Wonderful! It’s a huge improvement. Total time was about 2 hours. The latch mechanisms are also getting easier to work with after being sprayed. This project was well worth the time and I encourage other people to try the same.
How to Remove your Headliner
November 14, 2011 | Posted in Helpful Tips, Mazda | By fastwrecks

A Mazda RX-7 GTU headliner, which can be found for sale in our eBay store.
After dealing with a handful of Corvettes and a convertible Miata, I had almost forgotten the joys of removing a headliner panel. Let’s face it, removing and replacing a large rectangular piece of pressed cardboard-type stuff covered with cloth is not exactly most people’s idea of fun. But here are some general tips:
First off, if you can find a video on YouTube depicting somebody working on the same car you are, all the better. I find online video guides very helpful when working on cars….that, and there isn’t always a Haynes manual at my disposal.
Make sure that any trim pieces holding the headliner in place have been removed first. Depending on the car, some have trim panels along the sides of the headliner that mount to the car and conceal a row of clips underneath. Others have corners underneath the A pillar trim pieces, which are often held in place by a combination of (often artfully concealed) screws and clips. Take off your sun visors and (if needed) the rear view mirror and interior light assembly.
Get a good idea of what is holding the headliner in place before jumping in with both feet….hands…whatever. I can’t tell you how many interior trim pieces I’ve seen utterly destroyed by the “When In Doubt, Just Yank Harder” approach. You may be dealing with hidden plastic clips a few inches apart, like on the backside of a door panel, plastic screws, or the like. A door panel removal tool and/or a flat-blade screwdriver will be helpful here. The key is to work with care and not get in a rush. We’re talking about a piece of pressed board here that (in some cases) is as big and awkward as your 6th grade science fair tri-fold poster.

Treat your headliner like one of these. Save the yanking and tugging for rusty undercarriage bolts!
You can give the headliner a gentle tug to get an idea of where it is still attached, but yanking with all of your might is a big no-no.
If you have a sunroof, you may have to remove a piece of trim, weather stripping, or something like it around the perimeter of the sunroof to complete the process. Then, go around the edges with a flat-blade screwdriver just to test the waters. If there aren’t any clips or screws, you may find that all you need to do is gently pry around the edges. Try this in a relatively inconspicuous place.
That’s it…the trick is to go slow, be careful, and NO YANKING!
**Science fair image courtesy of http://www.flickr.com/photos/oakleyoriginals/3229259616/